前面介绍了如何在 SolusVM 使用 ISO 安装系统,但是如果主机商家没有提供光驱启动,这就无法使用这种方式进行安装。但是如果是 KVM虚拟化VPS,并且有 VNC 控制台,这就可以改用下面方法,它将从网络引导安装。
本文测试环境为 CentOS 7 。在开始之前,建议用 ip addr 命令查看网络配置,并记下网卡配置备用。
cat /etc/sysconfig/network-scripts/ifcfg-eth0
cat /etc/sysconfig/network-scripts/ifcfg-lo
下面正式开始:
1. 下载 iPXE Linux 内核文件并重命名放至合适位置。
wget https://boot.netboot.xyz/ipxe/netboot.xyz.lkrn -O /boot/generic-ipxe.lkrn
2. 创建 netboot.xyz initrd 文件以连接网络并指定文件下载源。
cat > /boot/netboot.xyz-initrd << "EOF"
#!ipxe
#/boot/netboot.xyz-initrd
imgfree
dhcp
set dns 8.8.8.8
ifopen net0
chain --autofree https://boot.netboot.xyz
EOF
3. 添加 Grub2 启动菜单选项。
cat > /etc/grub.d/40_custom << "EOF"
#!/bin/sh
exec tail -n +3 $0
# This file provides an easy way to add custom menu entries.  Simply type the
# menu entries you want to add after this comment.  Be careful not to change
# the 'exec tail' line above.
menuentry 'netboot.xyz' {
    set root='hd0,msdos1'
    linux16 /boot/generic-ipxe.lkrn
    initrd16 /boot/netboot.xyz-initrd
}
EOF
4. 延长 Grub 启动菜单显示时间。
sed -i 's|^GRUB_TIMEOUT.*|GRUB_TIMEOUT=60|' /etc/default/grub
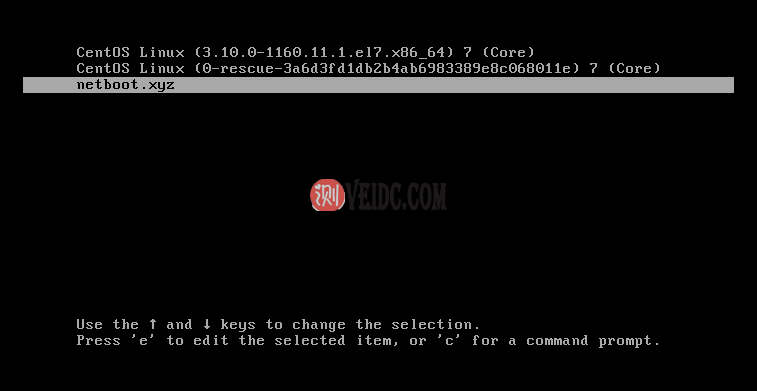
5. 更新 Grub 配置并重启,之后在启动菜单选择 netboot.xyz 进入。
grub2-mkconfig -o /boot/grub2/grub.cfg && reboot
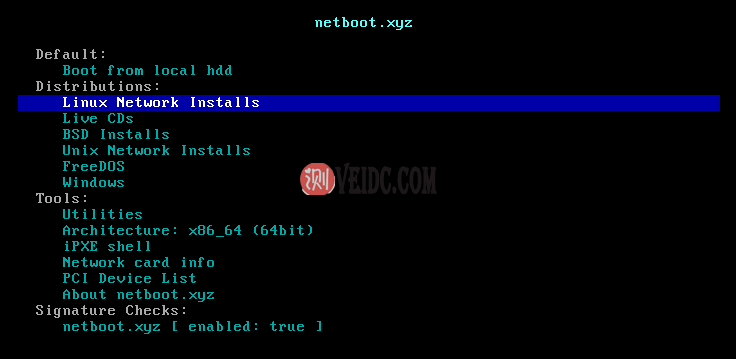
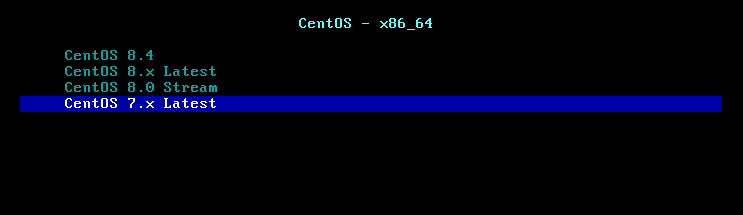
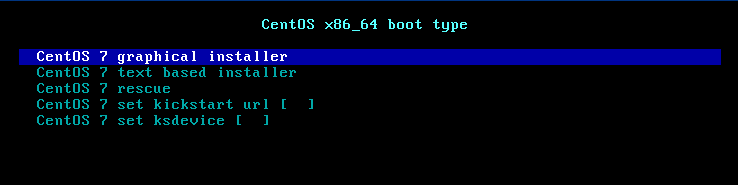
6. 进入 netboot.xyz 后,选择 Linux Network Installs,选择要安装的系统,选择图形化界面安装,之后等待下载好系统文件,便会转到系统安装界面。